How to Shallow the Shaft

For most golfers this is a biggie! If they can manage to get the shaft to shallow or flatten in the early stages of the downswing their chances of drawing the ball, along with a consistently crisp strike are greatly improved.

There are a few key factors to implement that will firm up your ability to shallow the shaft in transition. Watch...

My three important keys are:

  1. A flat lead wrist at the top of the backswing. If you can shoot in the 60's this is not imperative, but it will make the job of flattening the lead wrist in transition and the downswing that much easier.
  2. Get the shaft either straight or laid-off at the top of the backswing. Where you point the handle ultimately determines where the shaft is angled and it's much easier to manage it this way.
  3. Allow the hands to travel out or in front of you slightly as you start down. Be careful you don't over do this, but there are few things worse than getting the hands tucked in behind you in the downswing.
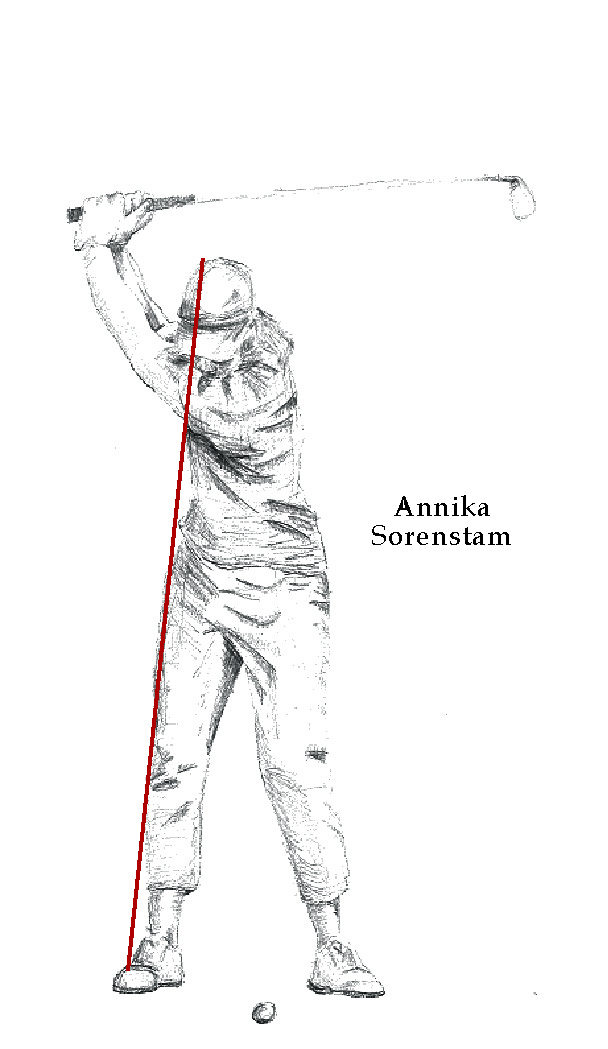
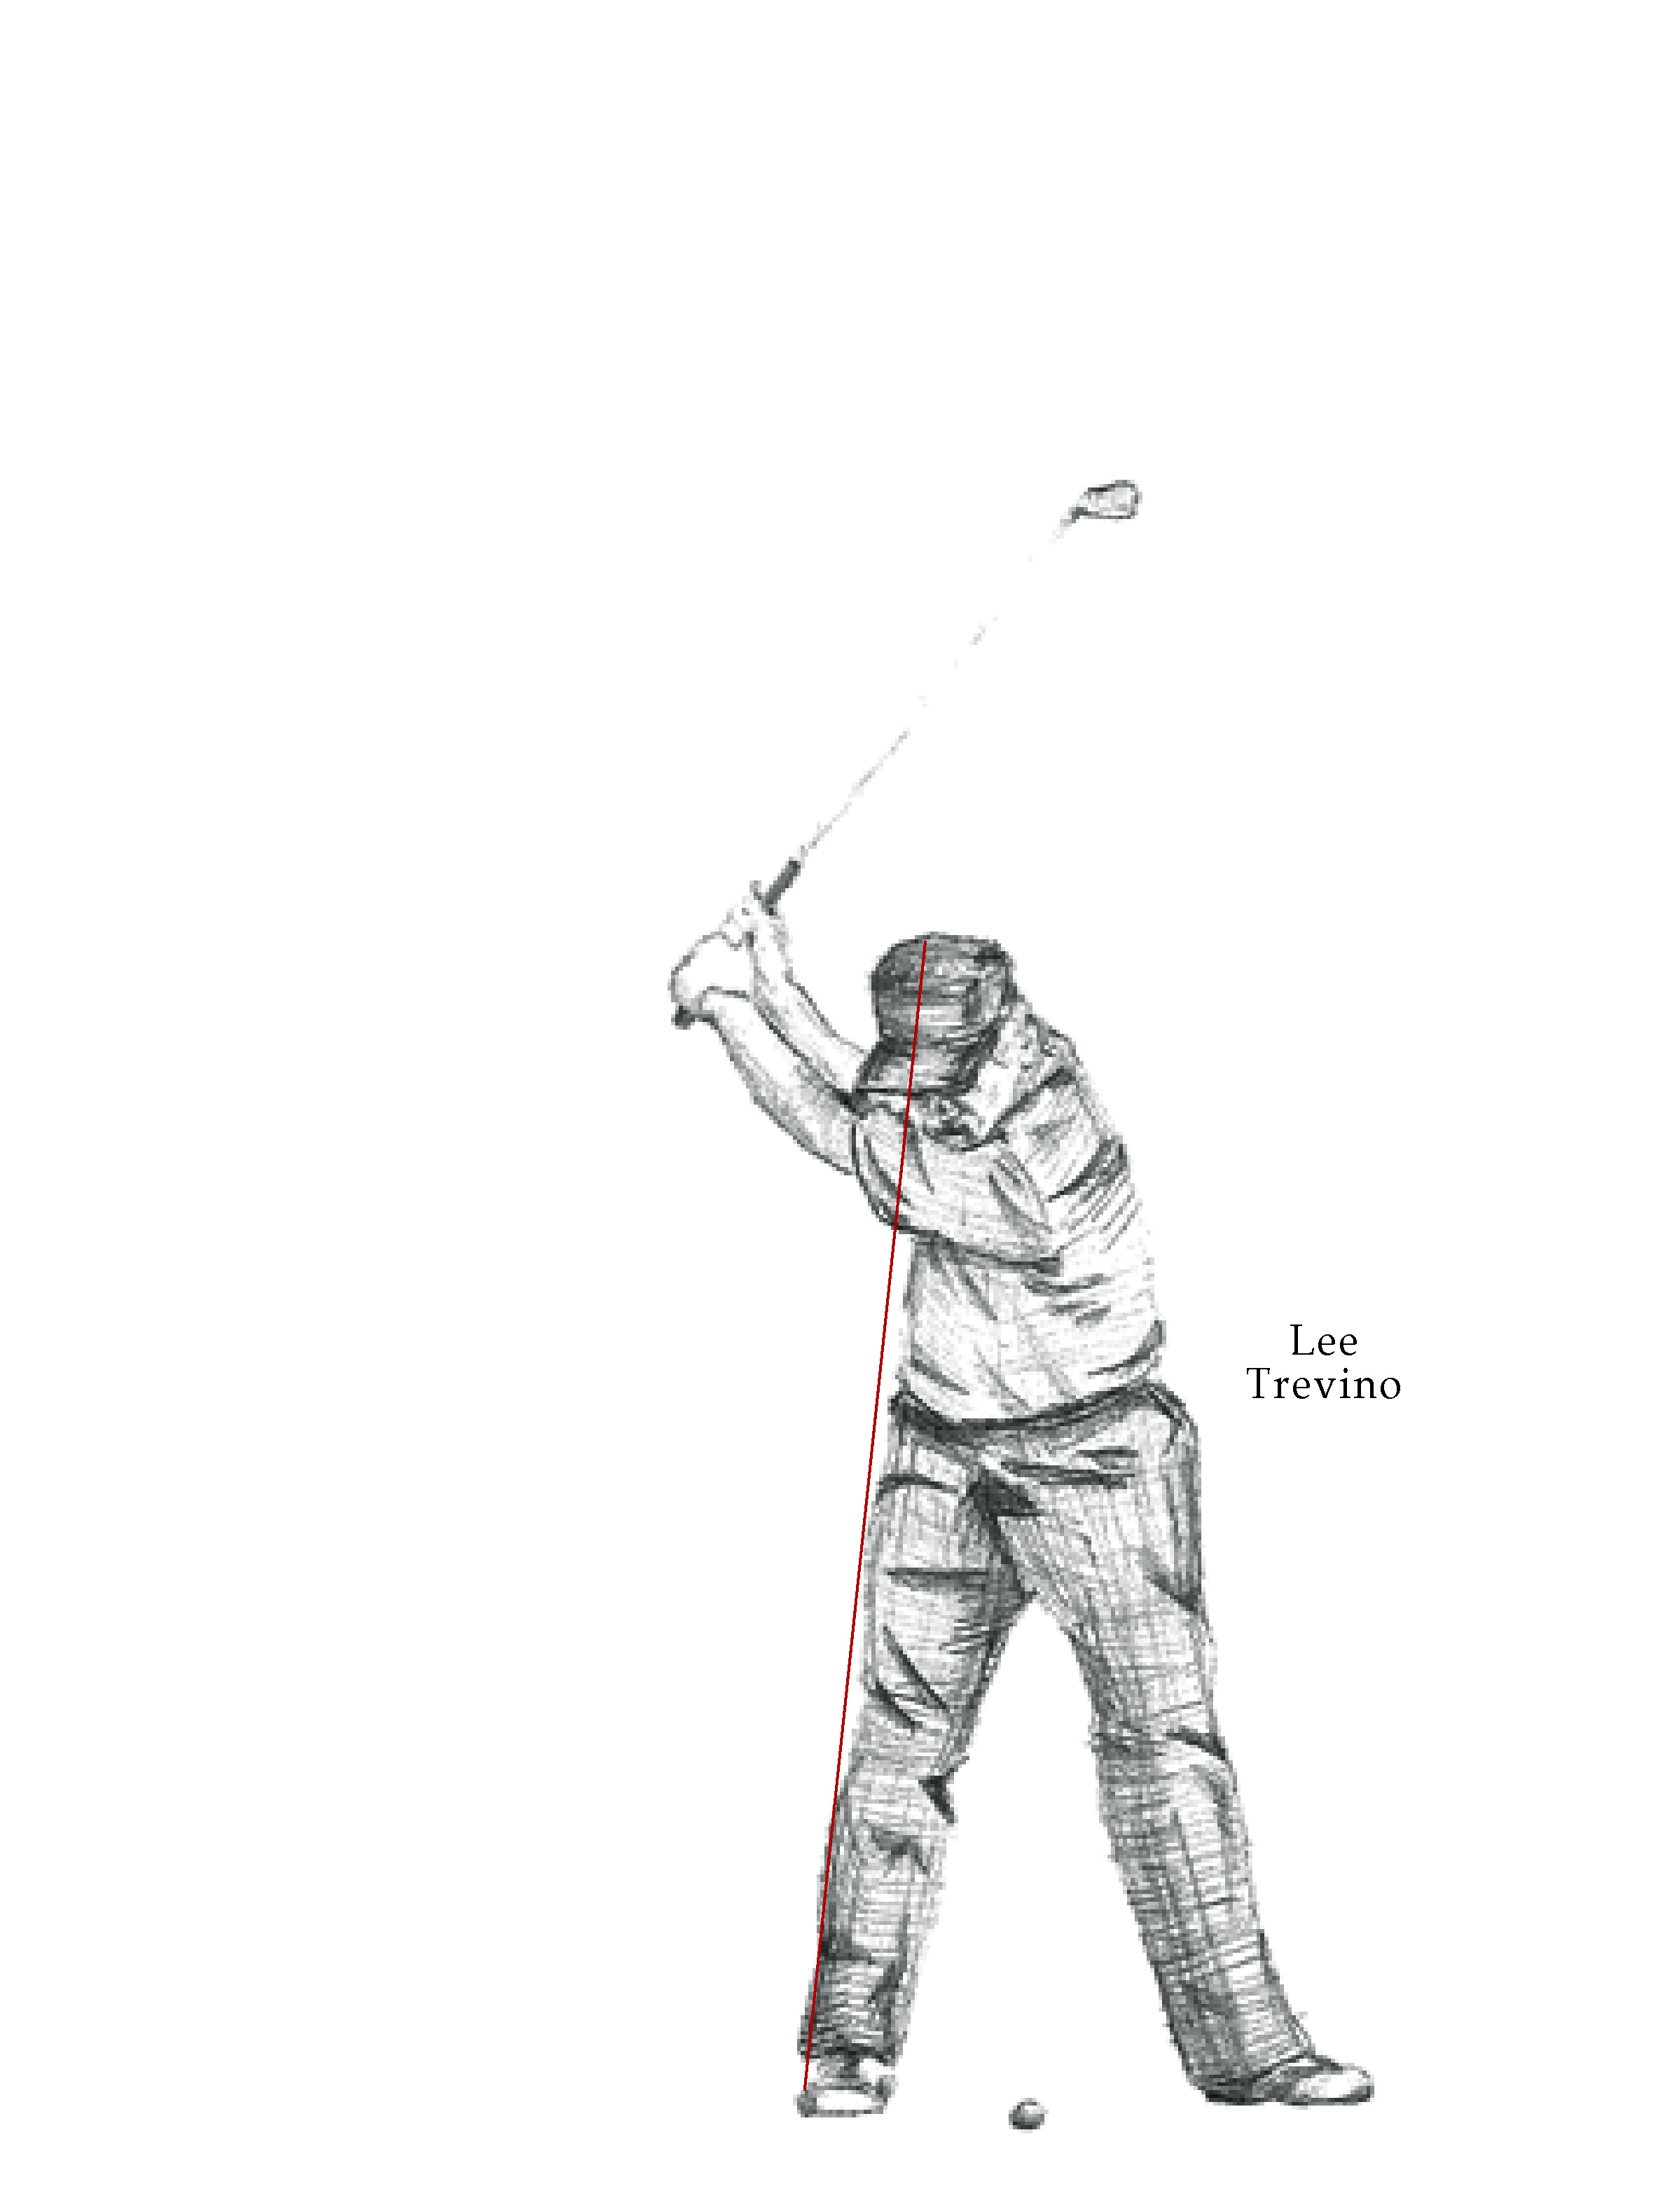
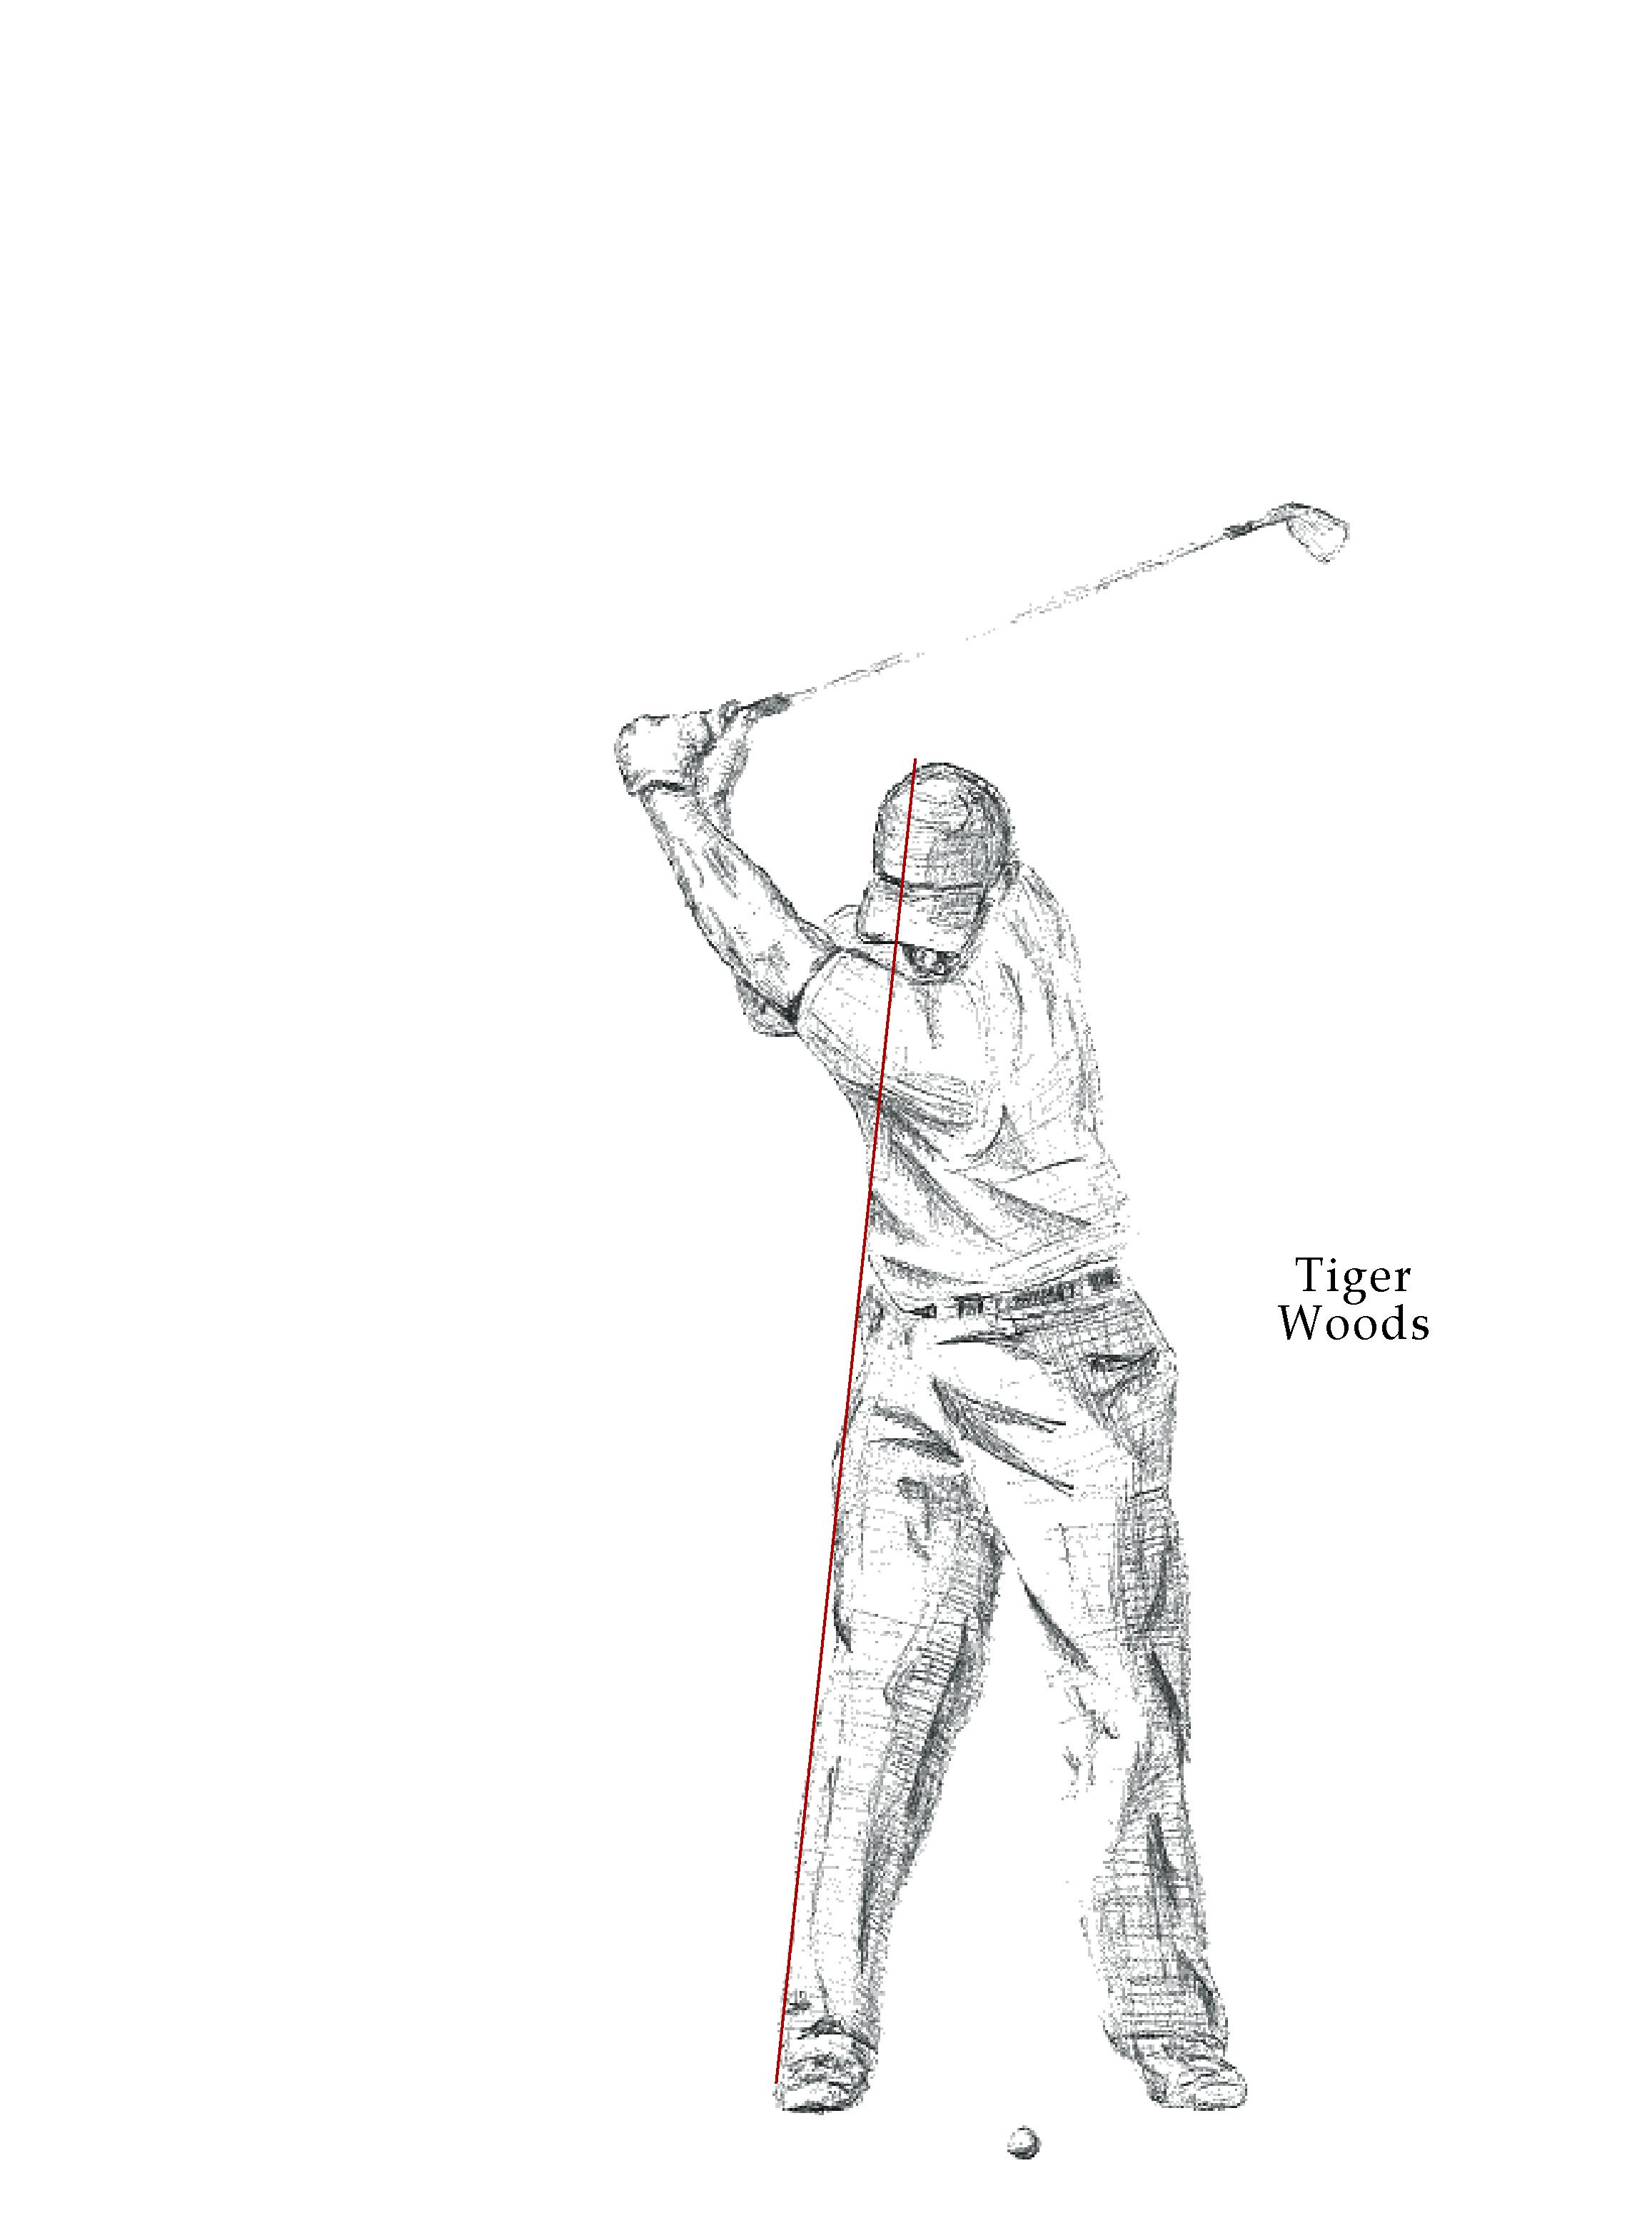
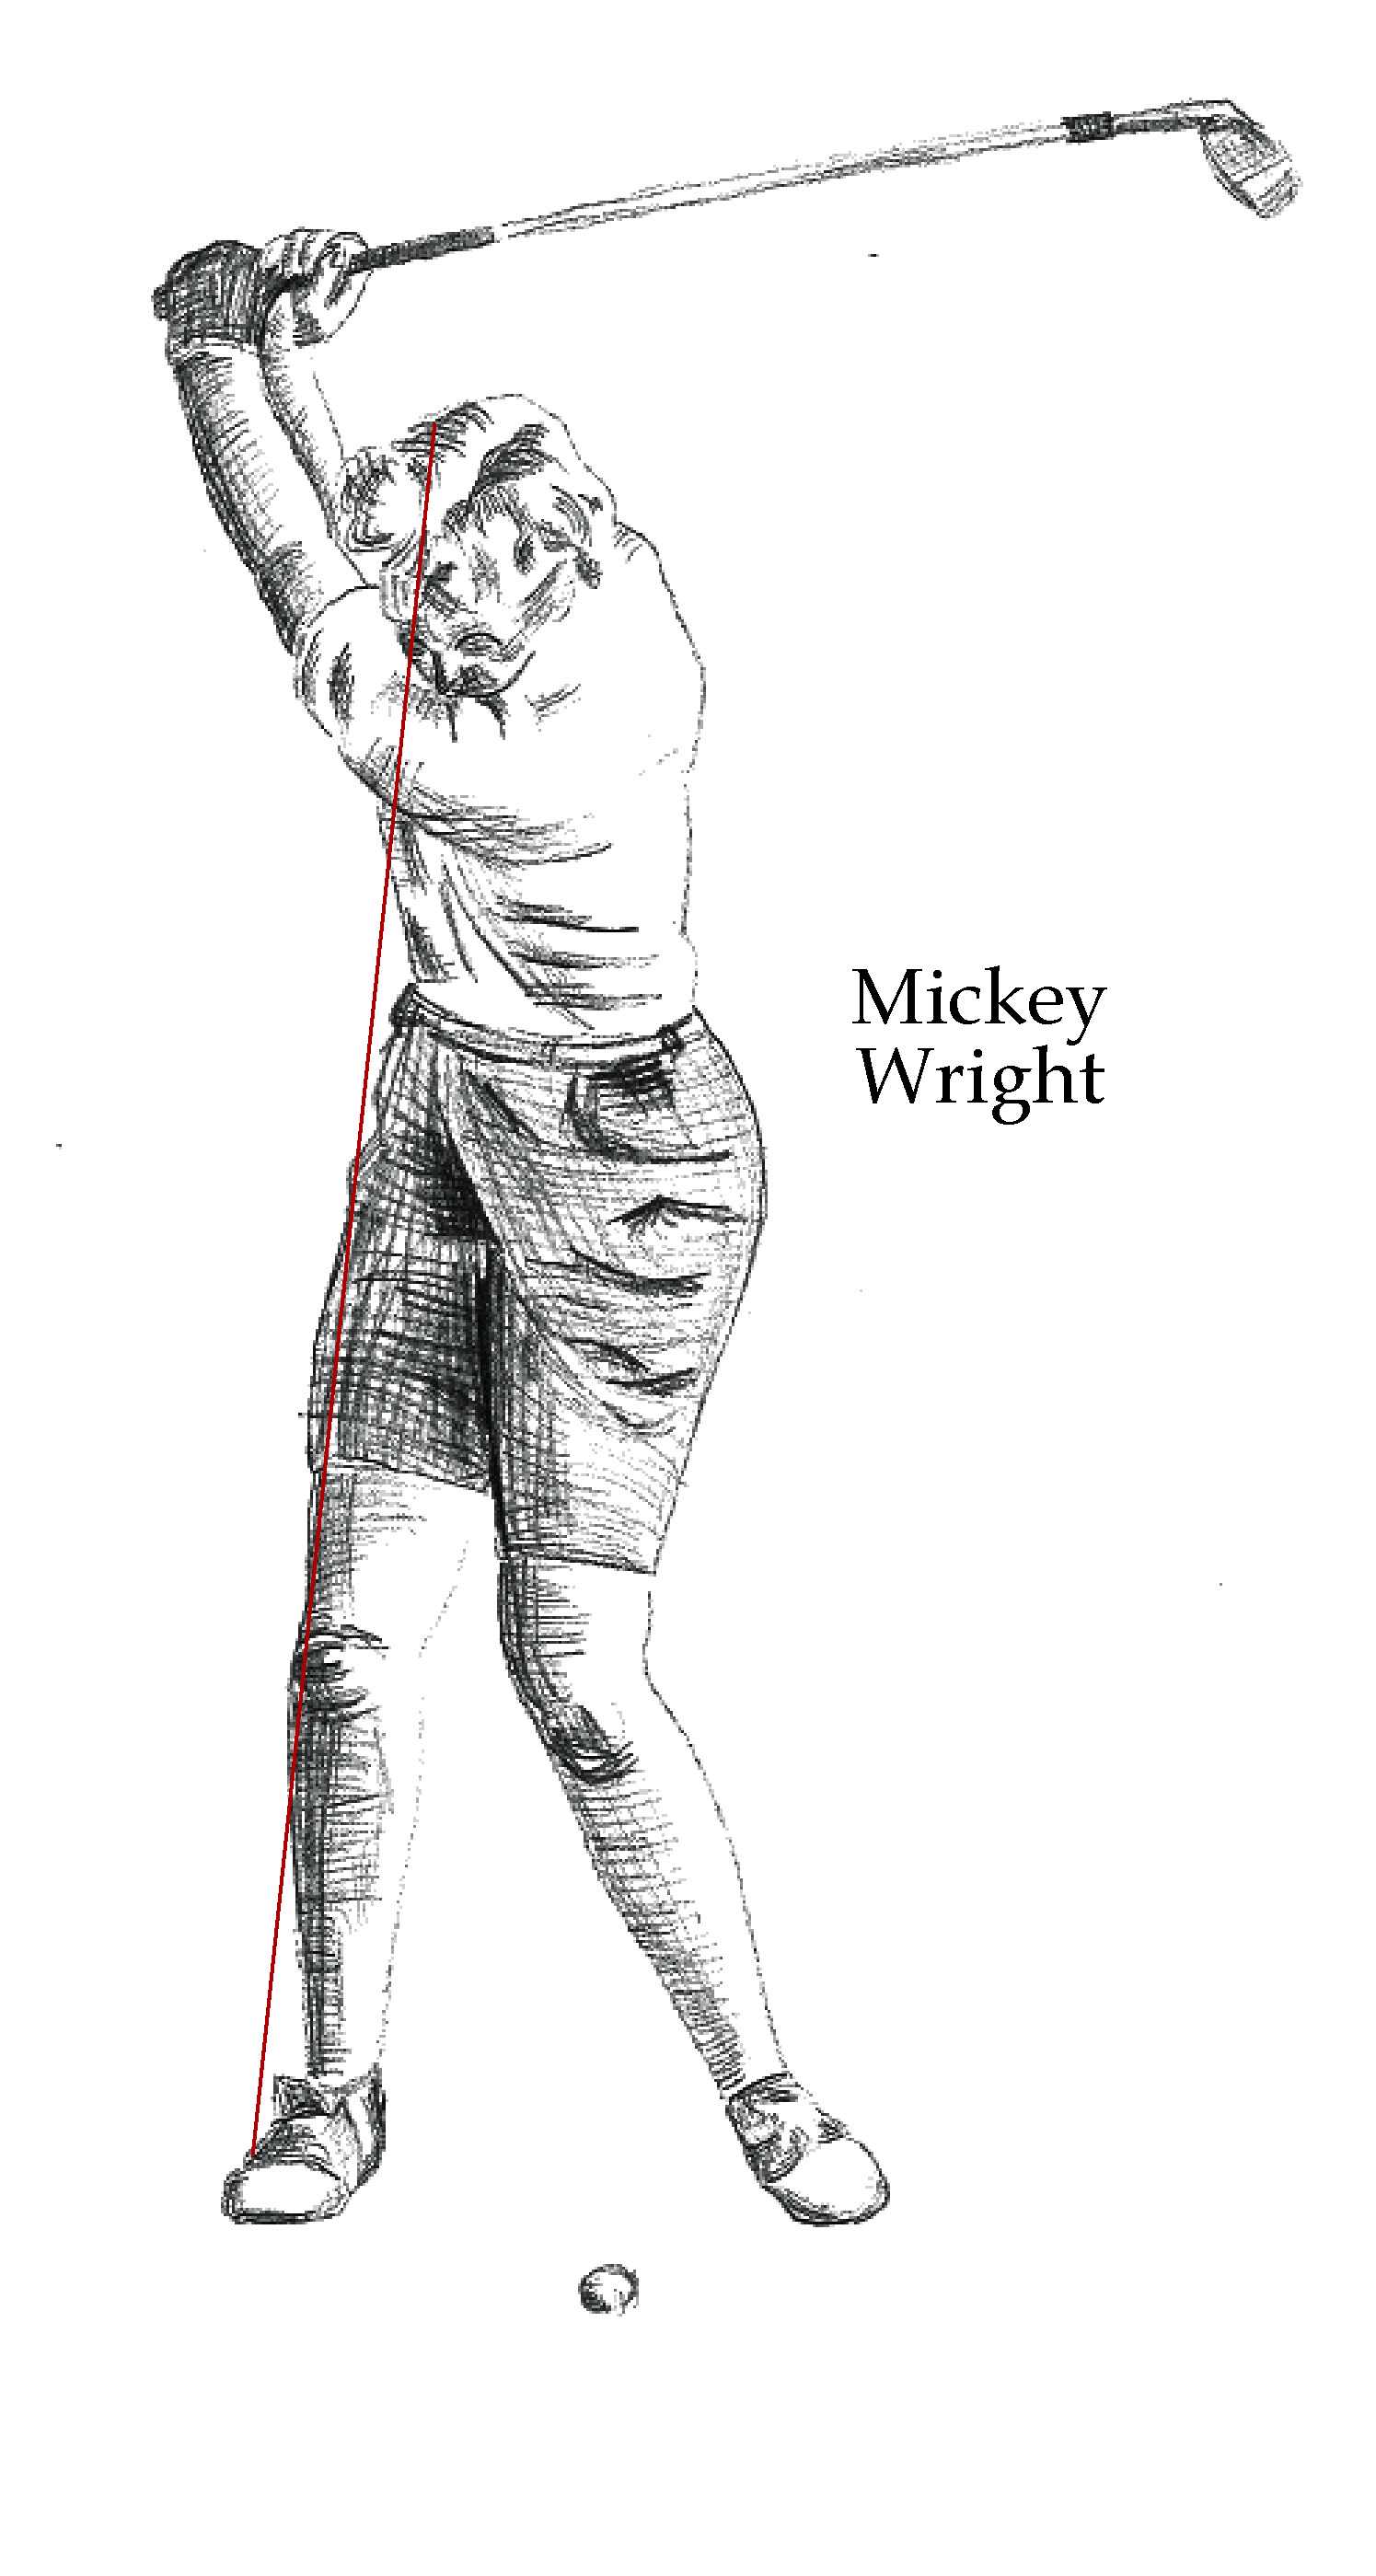
Woods, Trevino, Pettersson and Snead

Woods, Trevino, Pettersson and Snead

In the above image Tiger displays a flat left wrist and a slightly laid-off shaft, Trevino has shallowed the shaft and has a flat lead wrist, Carl Pettersson really gets his hands to travel out at the start of the downswing and Snead follows suit. All positive swing elements to emulate.

I would recommend you start your quest to improve this important swing factor in front of a mirror. Get a feel for each of the three keys by watching them and "seeing" what they need to feel like and then you'll be free to head out to the practice ground.

This free website's biggest source of support is when you decide to book a lesson or golf school. You can contact me HERE. If you live in another state or country please consider making a purchase HERE or HERE. It will help your game in addition to helping me to keep adding to this free website. Thanks again for your support! Andrew.

How to Stop Flipping - Guaranteed!

Ben Hogan once said that he despised any ball flight that curved from right to left (a draw!). Having been a chronic hooker of the ball in the early part of his career he knew what it was like to lose shots to the left. It wasn't until he found a way to overcome the dreaded flip through impact that the legend that is now Ben Hogan was created.

If you too struggle with untimely hooks and occasional blocks, you fully comprehend what Mr. Hogan had to overcome. Flippers have to rely on timing to make their shots go straight - the timing of the hand action through impact determines the outcome of each shot. And when impact between ball and face lasts for approximately 1/2000 of a second it's not that easy to be consistent - especially under pressure! The better you play, the greater your anxiety level, the less you control the timing of the flip - not a good recipe for low scores when it counts.

Having studied the swings of Hogan and Snead I found that when viewed from down the line it appears that the clubhead and ball seem to disperse aggressively post-impact. The clubhead moves quickly back inside the target line, while the ball launches straight. It almost appears as if they are trying to hit slices, yet the ball flight is very straight.

Watch the following video to get a sense of what to feel while doing the Anti-Flip Drill:

To practice the drill you will need the following:

  • Two alignment rods - one on the ground just outside the ball and another in the ground just inside the target line and 18-24 inches forward of the ball. Be sure that the one in the ground is leaning away from you (towards the target).
  • A 7 iron with the ball teed up so you can make sure it is in the same location relative to the rod in the ground each time.
  • Start small and slow, making sure you swing inside the rod with the clubhead and keep the face square to open thus launching the ball to the right of the rod.
  • Patience! Give it a few goes and you'll start to get the feel. Feel the clubhead and ball dispersing - one goes left and the other goes right. Remember that you have not been doing this "naturally" and that's why it feels so strange and "incorrect".

Here is the drill demonstrated in slow motion:


The Golf Swing and Foot Work

Let's take a look at each slide and the corresponding position of Lee Westwood. Address: I like the way the weight is evenly spread here. The head should be centered between the feet and if this is the case the foot pressure will be matching and thus correct. Takeaway: It is interesting to note that there is not a tremendous amount of shift here - notice how the right shoe only has one segment that is absorbing more pressure than the left foot. Top Position: While the right foot is clearly under more pressure than the left this is due to the coiling and wind up of the body vs. a huge weight shift or slide. Remember there should be no (or very little) lateral motion as you pivot to the top of the backswing. In fact, if you looked at Ben Hogan's feet when his club reached the 'top' he would clearly have more pressure on the left foot due to his very dynamic swing. Impact: What I love about this illustration is how impact only has two more pressure points than the follow through! The weight is clearly on the front foot - just as it should be. Follow Through: The weight is all the way up on the front foot, but not significantly more than where it was at address.

Tom Watson at Turnberry Sam Snead at WentworthThe moral of the story is that in order to shift the weight correctly, the lower body and particularly the feet, need to work. Just like Watson and Snead - the lower body must make its contribution to the motion and energy generated in the golf swing.

Read More