How to Get Off the Back Foot

I know there are many golfers out there who struggle with staying on their back foot for too long. If you feel you have a hard time getting onto the front foot in the downswing then give this video a watch…

If the club face is overly open throughout the swing we will often have a tendency to hang back as this aids in closing the face late in the downswing. Shifting onto the front side will actually SLOW the closing of the face and an open face in the downswing needs that process sped up. That’s why the first objective for any golfer that hangs back should be to strengthen the face in the downswing.

 Once you have a stronger club face on the way down you should take the Scottie Scheffler Shuffle Challenge. Work to get your pelvis driving forward enough to drag that trail foot at some point in the downswing. Have some fun with this one and if you happen to hit a few shanks as you work to do this – the club face is still too open. Give it a go.

The REAL Reason We Need Shaft Lean

When hitting shots with the ball on the ground it is simply imperative that we lean the shaft towards the target at impact in order to expose the sweet spot to the back of the golf ball. After watching this video you will know exactly why…

As you can now see if you’re not leaning the shaft it isn’t possible to hit the ball out the center of the face. Leaning the shaft and delivering the clubhead in a slightly descending fashion gives us the best opportunity to compress the ball and deliver maximum energy transfer. A leaning shaft at impact gives us:

  • a delofted club face, thus improving ball speed and distance.

  • a sweet spot that can now collide with the golf ball.

  • increased ability to hit down on the ball, thus improving strike quality.

  • an energetic and penetrating ball flight that sizzles!

I’m sure you’re wondering what you can do to start leaning the shaft more effectively for shots played off the ground. Keep in mind that an open face on the way down will corrupt any ability a player might have of leaning the shaft. Try these ideas:

  • at address, feel that your hands are slightly ahead of the ball and that your weight gently favors the front foot.

  • make sure your club face is in a neutral to strong position on the way down and into impact. Tip it down!

  • practice hitting low, knockdown style shots on a regular basis. Punch the ball.

Give these ideas a try to start to improve the quality of strike, ball flight, distance, feel and outcome of your shots off the ground. I sincerely hope it helps!

Club Face Matters

In the following video Andrew shares information on the most common fault he sees with the everyday golfer - an open or weak club face and the effect this one element can have on ball flight and striking.

I have no doubt that the club face angle, in particular in the early downswing, is an integral element to playing good golf. All golfers need to get the face in place in the downswing in order to be able to make a quality strike and manage the face angle for accurate outcomes.

When the club face is overly weak/open:

  • The weight will typically stay back as the pivot stalls

  • The handle will be too far back at impact, resulting in high and weak shots

  • Distance and compression will be compromised

  • The strike will almost always be picky with very little club to ground interaction post impact

  • Trajectory will be overly high with the prevailing misses being pulls and/or fades

When the club face is overly strong/closed:

  • The hips will drive forward too far in an attempt to slow down face rotation

  • The hands will be well forward at impact, resulting in low spinning and low flighted shots

  • Distance will typically not be a problem

  • The quality of strike will often be acceptable

  • Appropriate height will be a challenge, especially with a longer iron and the prevailing miss will be a hot, low ball flight with a tendency towards blocks and hooks

What can you do to improve? Take an honest inventory on which pattern discussed above you typically fall under. Once you have an idea, start working on improving your club face angle in the early downswing. This will most commonly be achieved with improved wrist angles, but know that the grip will also play a role. Create a game plan and set about making some long lasting changes. You can do this!!

Thanks for reading and please shout if you have any questions.

What Affect Does Temperature Have?

We all know that the ball doesn’t travel as far when it’s cold and it seems to go a little farther when it’s really hot, but how much influence will temperature have on my carry distance?

Golf is a sport that requires skill, technique, and precision. One of the factors that can affect distance is temperature. Temperature can have a significant impact on the distance a golf ball will travel, as it can affect the ball's flight characteristics along with the golfer's swing mechanics. In this post, we will explore the effects of temperature on ball flight only. We don’t delve into the affect that all the extra clothing you’re wearing because it’s so cold will have on your ability to swing. This is only the effect of temperature on ball flight, not on our ability to swing the club normally when it’s either cold or hot.

Here is a chart that I created with the help of the engineers at PING. It’s super simple and easy to remember - just the way I like it!

Temperature Data:

  • Most of our club carry distances are acquired in temperatures close to 75º F (24º C)

  • For every 10º below 75º each club in your bag will CARRY (approximately) 2 yds shorter

  • For every 10º above 75º each club in your bag will CARRY (approximately) 2 yds longer

  • This is a rule of thumb to help you make better informed club selection choices

Please keep in mind that this does not factor in wind, altitude or the human factor of less/more speed generation in colder/warmer temperatures. This is strictly how the carry distance is affected in differing temperatures.

The primary reason for the differences we see is that temperature can affect the air density, which, in turn, affects the golf ball's flight. As the temperature increases, the air becomes less dense, resulting in a decrease in air resistance. This reduction in air resistance allows the golf ball to travel farther through the air. Conversely, as the temperature decreases, the air becomes denser, increasing the air resistance and reducing the distance that the golf ball will travel.

Temperature changes will affect the distance a golf ball travels. Golfers must be aware of the temperature, altitude, humidity levels, and their club selection to achieve the desired carry distance. Understanding how temperature affects your game can help you make better informed decisions on the course, leading to better scores and more enjoyable rounds.

Lose Your Chicken Wing

If 2023 is going to be the year where you start compressing the golf ball with some sizzle and penetration off the club face then it’s time to get to work on that pesky little chicken wing you see at impact and beyond in your golf swing. It will take some time, but with a clear picture and a few solid practice sessions it can be done. Here’s how…

The two key areas are as follows:

  1. The club face is invariably the culprit here and its almost always overly weak or open. Practice the “pump drill” demonstrated in the video where you really exaggerate how closed you’re getting the club face. Yes, you’ll hit a few shots to the draw/hook end of the spectrum, but just the same way you learned to hit it “straight” with an open face, is how you’ll learn to hit it straight with a more neutral face.

  2. Let’s get DIRECT with this drill and make sure the lead arm stays extended. Keep in mind - face first and then the 9-3 drill demonstrated in the video. Use a 7 iron and keep the drill smaller than you might think. No need to hit it hard just yet. Please make sure that both arms are still extended as things come to a halt after the strike.

I know that if you commit to these two ideas you will not only improve the quality of your ball striking, but you’ll also get rid of the infamous golf swing chicken wing.

Please give this a go and let’s make 2023 your best year on the golf course ever! Cheers.

The Release! What it Should and Shouldn't Be.

I encounter many golfers who are unconsciously trying to manipulate the club face through impact in an attempt to keep the face square and the ball on line. They have a sense that holding the face off will somehow keep it square through impact. I get it, but the message I’d like all to get from this article today is that holding off when it is not required simply doesn’t work. In fact, I’m of the opinion that holding the face off actually decreases the golfer’s ability to control the face angle at impact. Watch this for a better understanding…

Here are a few notes to take away:

  • In the downswing the club face is always closing relative to the target. This is purely a function of the rotation inherent to the swing.

  • The release starts long before impact and is strongly influenced by the face angle in the early part of the downswing. An open face will encourage an early release, while a closed face will delay the release.

  • The lead wrist goes from flexion (bowed) to extension (cupped), while the trail wrist does just the opposite, just the same as if you were throwing a frisbee with your lead hand and a ball with your trail hand.

  • Semantics: a scoop is when a player adds loft and a flip is when a player is required to speed up the rate at which the face is closing.

Try the little exercise I demonstrated with the magnetic club face indicator. Start with one hand for a few swings and then add both for a few swings. Pay attention to how quiet the face actually is through the impact zone. Don’t swing too hard with the indicator on the club face or it will go flying! In real swings the feel should be that you are letting the wrists and clubhead fly in the downswing and through the strike. Throw it - hard!

Thanks for watching and please shout if you have any questions or comments. Happy Holidays from myself and my family to you and yours.

3 EASY Keys for No More Slicing

While it’s not the bane of every golfer, slicing or ‘large fades’, certainly taunt the vast majority of golfers out there. If you commit to the following simple steps to help you overcome your nemesis I can guarantee you’ll no longer have a problem. Watch this short video…

The keys are:

  1. Get that club face as closed as you can possibly get for every ‘frame’ of your golf swing. That doesn’t mean you need a stronger grip, but I’m sure you need better wrist conditions in order to close that face down for the whole ride.

  2. Once you’ve got the face closed, now keep the body closed throughout the downswing. Feel like your back is to the target and it’s going to stay that way for the entire downswing.

  3. Glide! Glide on over to the front foot with some lateral weight shift. Make a positive effort to get your mass over to that front foot in the downswing - without unwinding or opening up.

Keep in mind that these ideas really are feels that will help any chronic slicer/fader to overcome their typical ball flight. If you struggle with this, or perhaps know someone who does (don’t we all?) then please give these ideas a try or share it with a friend that desperately needs it.

Thanks for reading/watching.

Trajectory Tune Up

My role as a golf coach is often to help my students neutralize the manner in which they deliver the club to the golf ball. I might help them with less slice, longer shots or simply a higher or lower ball flight. Today’s lesson will give a simple assist to any golfer looking to improve the trajectory of their shots. Whether you’re looking to hit the ball higher or lower the following video will help. Watch….

For a lower ball flight:

  • Hold the club in your lead hand and elevate the lead wrist

  • Place the trail hand on the club so that it is less ‘on top’ and more ‘alongside’ the grip

  • Have a sense throughout the swing that the club face is stronger and more downward

  • This will often reduce fade bias and improve compression and energy transfer from the club to the ball

For a higher ball flight:

  • Hold the club in your lead hand and lower the handle

  • Place the trail hand on the club so that it is more ‘on top’ of the grip

  • This change will often lead to reduced draw/hook bias and improve carry distances

As with any change it is important not to overdo either of these changes. Start small and if you need more you can always add later. In recent years I’ve found that the trail hand grip plays a significant role in determining the face angle throughout a golf swing. This is a simple technique to make significant changes in trajectory and energy transfer to the golf ball.

Thanks for reading this and I hope one of these changes works wonders for your golf.

Cheers!

A Drill for Better Strikes & Trajectory

This is a fairly straightforward drill that will activate the trail side in the downswing and reduce any “tipping” tendency that might get the clubhead stuck behind the golfer. If you struggle with thins, and fats in tandem with blocks and hooks, then this is one for you to try.

A few points to note:

  • This drill works nicely with a 7 or 8 iron struck off a low tee.

  • Keep the stance fairly narrow and drop the trail foot back about a foot inside where you’d normally place it.

  • Rehearse and then rehearse again. Remember that as you practice this you’re trying to make technical changes, so go slowly and get it right….every time!

  • Try to feel the trail shoulder continuously moving through the impact zone. It should feel as if you’re “covering” the ball with that trail shoulder.

  • As you get more comfortable you can start to pick up the speed and move the back foot into a more neutral position.

This drill really has worked wonders for a few of my students in that it has upgraded both the quality of strike along with the ball flight. The next time you find yourself struggling with either strike or trajectory give this drill a try. I think you’ll be pleasantly surprised.

Rotation Drill

Most of us should be working towards better rotation through impact. One of the biggest differences I see between the everyday golfer and the pros is the amount of hip rotation that has occurred at impact. What I call the “two cheek” impact position where both butt cheeks are visible from down the line at impact. This drill will help! Take a look…

Notes:

  • Grab an 8 or 9 iron and set up to the ball which initially should be on a tee.

  • Wind about halfway back into the backswing and pump down to where the shaft is approximately parallel to the ground. Here you should feel your chest and hips as open as you can possibly get them.

  • After a few rehearsals give the ball a light hit and slowly build up speed while incorporating this sense into full speed swings.

Let’s keep in mind that in order to be able to rotate more freely through impact is largely an indicator of the clubhead and club face being in an acceptable position in the early part of the downswing. If your club face is wide open and you try to rotate more through impact there’s a strong chance you’ll actually hit the ball worse! Start with getting the clubhead deep in the early downswing and the club face fairly strong - from there this drill will work wonders for your ballstriking.

Thanks so much for watching/reading along. I hope that in some small way I am able to contribute to the joy you experience out on the links. Until next time…

Better Ballstriking!

It has been incredible to watch my students work this concept into their golf swing and witness how much better they start to strike the golf ball. It’s ball first, crisp contact where the compression improves almost immediately. If you struggle with thins, scrappy heavy hits and even some blocks and hooks then this thought is a good one for you to try. As always there is a video coming, but today I’m going to lead off with what I’d like you to feel….

  • As you get to the top of your backswing your lead/front side is lower than the trail side. In transition I want you to keep the lead side low for as long as possible into the downswing

  • Feel like you’re “surfing down the wave” into the golf ball

  • Work against drifting the upper body in front of the ball. There should be no upper body sway as you start down

  • While the lead side will elevate at impact, strive to keep that front shoulder staying as low as possible

As you can see in my demonstration above I tend to get my upper body too far forward while I’m ingraining the FEEL, but notice what the upper body does during the actual shot. That’s a little more like it!

I hope that these articles are somehow contributing to your enjoyment of the game. As we all know - better shots lead to greater enjoyment. Thanks for checking in!

Tilts & Turns!

If you want the ball to get moving you’ve got to get your body moving and this very simple exercise is a little gem that we all should be practicing on a regular basis. I find it to be an excellent reminder of the tilts, turns and stretches we need to incorporate into the golf swing. Watch…

A few checkpoint to keep in mind when doing the exercise:

  • Hold a club across your shoulders by crossing your arms across your chest

  • Position the handle of the club on the lead/target side of your body

  • In the backswing get the handle to point at the ball or where the ball would be

  • Allow the trail side to extend and the trail knee to straighten

  • The lead side should feel low and the trail side high as it stretches and extends

  • Repeat these feels as the swing moves into the downswing and follow through

  • In the post impact portion of the swing the trail side lowers/shortens while the lead side will elevate and extend

This exercise does such a good job at reminding us what a real swing should FEEL like. While the positions of the drill are a little extreme they carry through nicely into an actual shot. I know this simple, take home exercise will go a long way towards helping a large percentage of the golfers that show up on my lesson tee. Give it a try!

Try This for Better Compression

Too many golfers that I teach are struggling to compress the golf ball! There is a distinct lack of energy being transferred from the clubhead to the ball. Getting the club face in position in the early part of the downswing is tremendously helpful in increasing compression and the sizzle factor off the face. Here’s how…

When trying this drill look for the following:

  • Don’t try to hit balls with this - it’s all about getting the correct feel

  • Hold the club at the bottom of the grip in your lead hand with the clubhead well off the ground

  • As you get to the top you should see the handle out in front of your forearm

Doing this drill correctly will ensure that you’re getting both the club face and the clubhead in a good spot to initiate the downswing without having to work hard to shallow the club or lay the shaft down.

This should be your view when you have the club at the top of the backswing. Give it a try and see if you can incorporate the feel into your next practice or warm-up session.

Thanks for reading/watching along and it is my wish that somehow I can manage to share something that helps you experience more joy while you’re out on the links.

Cheers!

3 Big Driver Keys

foset1.jpg

Set Up:

  • Tee the ball high if you’re looking for max distance, lower if you’re looking for more accuracy.

  • Tilt your spine away from the target. Set up to hit up!

  • Drop the trail foot back inside the target line to aid in making a bigger turn.

fotop1.jpg

At the Top:

  • Make as big a pivot as your body will allow, trying to feel the trail leg straightening and the trail hip elevating.

  • Get the handle as far back as you can into the backswing. It should travel both up and in.

  • The longer the backswing the greater the energy you can pump into the system and the more time you have to organize on the way down.

foimp1.jpg

At Impact:

  • Drive the weight down and towards the target in the early downswing.

  • As you approach impact push hard on the lead foot. This will raise the handle, elevate the angle of attack and increase the power.

  • Feel your hips opening up nicely to the target.

I know that these simple keys will help to improve both the distance and the accuracy that you have been experiencing off the tee! Give them a go and if you have any questions, please just reach out.

Cheers and thanks for reading !

Two Minutes to Better Golf

You have got to try this simple, yet highly effective, exercise! Whilst it’s not as easy as it might appear it can be done fairly quickly and at home. This valuable little nugget was shared by my friend and Golf Fanatics expert contributor, Mike Carroll. It will help with mobility, strength and mechanics. Watch….

  1. Mobility

    As you work through each swing strive to go back a touch further than you did on the previous swing. I’ve done this for a week now and can feel the difference already.

  2. Strength

    As much as we might not be willing to admit it, strength makes a substantial difference in the distance that we hit the golf ball. If you start doing this with a light weight try to move up in weight as the weeks progress. I’m currently using an 8 pound medicine ball.

  3. Mechanics

    This is something that Mike pointed out to me. When you have to recruit every resource available to you to move this weighted object back as far as possible it’s interesting how well you move. The lead heel elevates, the hips help out, the chest turns a ton and the shoulders and arms do a nice job too. Not much I would change really!

I know you’d like to get better. So would I. The fact is that the only way it can possibly happen is if we start to make improvements…and they don’t come easily. Start today and don’t give in! It ultimately is always up to you. Get out of your comfort zone and you’ll be amazed.

ssnead.jpg

Make a BIGGER Backswing!

I struggle with this one too! Making a bigger backswing. So many ‘seasoned’ golfers that I have the privilege of working with struggle to make a big enough backswing and it really hinders their ability to hit the ball both far enough and well enough. Watch…

A few keys to help you to start getting more out of your body and your backswing:

  • Work towards turning your hips as far back as you can

  • Free up your feet by allowing the lead heel to lift off the ground

  • Allow the trail leg to straighten significantly

  • Any amount of improvement in flexibility will help in this department

BubbaTop.JPG

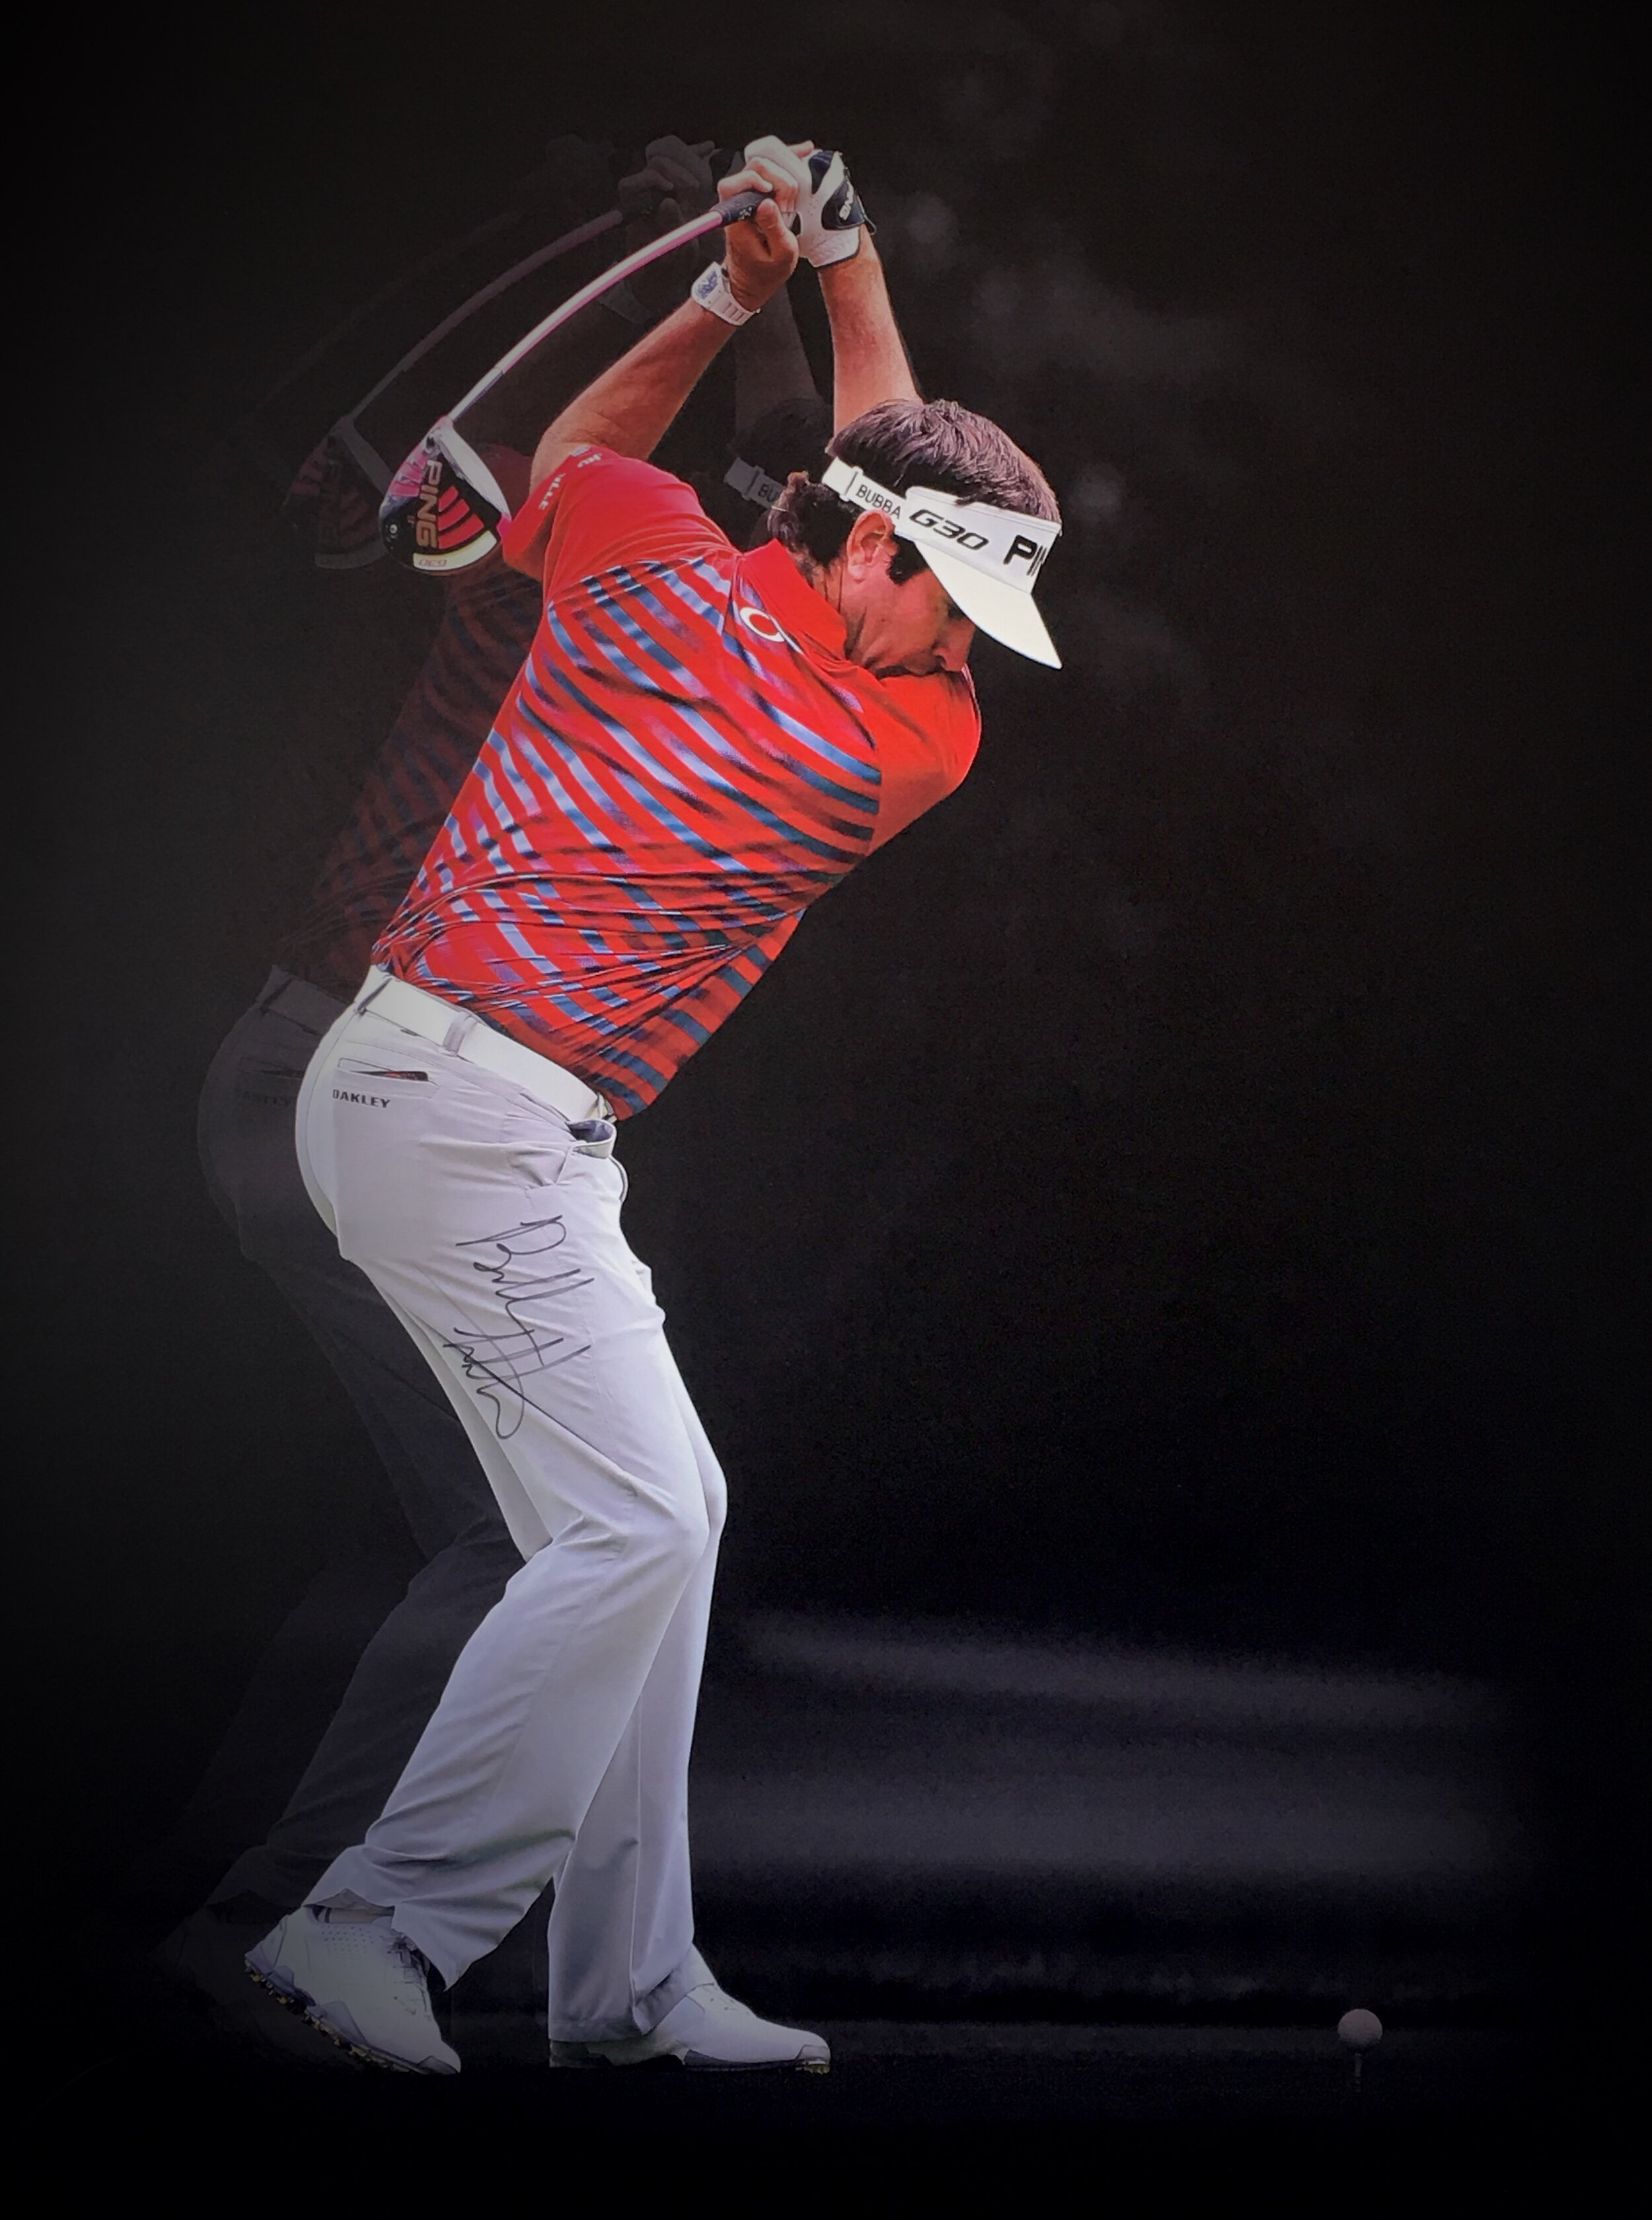
Now, not many of us will be able to get to where Bubba is in the above image, but let it serve as inspiration for all of us. That bigger turn, when done properly, will allow for an increase in clubhead speed and more time to organize the club face as it approach impact.

Take your time, but start the journey today. Allocate one month to this endeavor by committing to make 20 BIG practice swings each day. I think you’ll be amazed!

Get the Face in Place!

The ability to control both the face angle and loft at impact is paramount to playing better golf! This element in the golf swing really plays a major role in my teaching philosophy. Here’s a simple, yet illustrative, video that shows what can go wrong and how it needs to work…

So much of what we do in our golf swings is dictated by the face angle in the early part of the downswing. An open face means a stalled pivot and handle to go along with too much loft and an inconsistent strike. On the other hand an overly closed face will encourage too much lateral drive in the downswing and cause the hands to ultimately be too far forward and de-loft the face too much. This image illustrates the two extremes…

7DC28B2C-CA35-46EA-9EF7-0FE3B15876E1.jpg

If you can make, even subtle, upgrades during this all important part of the golf swing you’re going to see a marked improvement in both your ball-striking and flight. Give it a go!

handclubpath.jpg

Top Tier Tempo!

In this article I’m going to share three helpful exercises to help you smooth out the tempo of your golf swing. Let’s get the oil of the golf swing flowing through your engine! Watch….

I work with golfers on an almost everyday basis to help them complete the backswing and ultimately improve the rhythm and flow in their golf swings. These three drills will help:

Three Ball Drill

  • Tee up three golf balls and do this drill with a 9 or 8 iron

  • Keep in mind that the rhythm does not have to be slow here

  • Make full, completed backswings where you flow from one strike straight into the next

Towel/Rope Drill

  • Use a bath towel or heavier, marine gauge rope to do this drill

  • This will encourage patience as the downswing cannot start before the towel completes the backswing

  • Feel how the energy flows down into the end of the towel (clubhead)

towel.jpg

Hideki Pause

  • In this drill you’ll feel an almost invisible pause at the top of your backswing

  • Try to pause for as long as you comfortably can

  • This does a tremendous job to give any golfer the sense of a full and completed backswing

Now, I know that mechanics play a big role in any golf game, but sometimes all we need is a better feel and sense of rhythm in our golf swings to get things headed in the appropriate direction. Give a few of these drills a try and see what it can do for your game. Especially when you get a little anxious and tight out there!

Thanks for your readership and support throughout 2020! I know we have all learned so much together this year and I look forward to learning and sharing together in 2021.

Cheers!

Stop the Scoop

Are you tired of putting everything you have into your game, only to see the ball literally limp off the club face after each swing? There’s just no return on the energy you’re putting in. Today I’m going to show you how to get the sizzle back into your ball striking. Watch this video first…

I often ask my students which club imparts the most energy into the ball relative to club speed. The answer? Putter. Why? It has the least loft at impact and delivers the least oblique strike to the ball. Learn to reduce the loft coming into impact in order to start compressing the ball off the club face.

  1. Get the club face in place early in the downswing. This is done by bowing/flexing the lead wrist which in turn will de-loft and strengthen the club face by the time impact occurs.

  2. Try the Preset Club Face Drill. Using a 7 iron, take the club back so that the shaft is parallel to the ground making sure the lead wrist and leading edge are tilted down towards the ground slightly. Wind the arms back 1 foot and rotate through, working to maintain the face and wrist angles. The ball flight should be low and penetrating with a slight draw.

  3. Make sure that the low point of the swing arc is forward of where impact occurs. This can be rehearsed by making two practice swings between each shot you hit on the range where the sole of the club bottoms out well in front of where it was resting on the ground. The handle and weight must be forward at impact in order for this to occur.

compression.jpg

If you’re a scooper you owe it to yourself to give these ideas a try. My 30 years of teaching golf say that they truly do work and with a little patience and persistence you’ll significantly improve the quality of your ball striking.

Remember - there is no magic, only hard work and a good solid plan. Get to it!

A Look into a Lesson

Thank you to all of you who have reached out to let me know how much you’ve gained from the insights I’ve been sharing with my students lately. It truly does make me happy to know how many people can benefit from someone else’s golf lesson. With that in mind, here’s another!

I recently got together with Scott who I started teaching 18 months ago. As a relative beginner when we first met, Scott has really worked hard and made tremendous strides - firing an all time best score of 82 recently. At the onset of our most recent lesson I could see that he had continued to make progress.

In an effort to keep my information simple, accurate and actionable I summarized the talking points for our time together into:

  1. Alignment was too far right which led to misses that finished well right of target

aim.jpg

2. Driver was crashing into the ground which led to pop-ups off the tee

wear.jpg

3. Arm structure was a little soft through impact which didn’t bode well for repeatable, quality strikes

arms.jpg

I’ve always found that too much information can often overwhelm a golfer and as a result I strive to keep it as simple as I can. That doesn’t necessarily mean it’s going to be simple - just as simple as possible while making sound upgrades.

I hope this look behind the curtain to see how I run my lessons somehow influences the way you look at your golf progress moving forward. My advice would be to itemize the important stuff and set a time frame to help you stay focused solely on those items. And of course - work hard!